
What Is Diamond Painting? The Complete Beginner's Guide for 2026
If you've scrolled through craft videos lately, you've probably seen one: a pair of hands, a waxy-tipped pen, and thousands of tiny glittering stones turning a plain-looking canvas into a shimmering picture. That's diamond painting, and it has quietly become one of the fastest-growing hobbies in the United States. It is easy to start, genuinely relaxing, and the finished artwork looks far more expensive than the kit itself.
In this guide, we'll explain exactly what diamond painting is, where it came from, what comes inside a kit, and how to finish your first project with confidence. We'll also settle the round-versus-square debate, decode terms like "5D" and "DMC," and share the beginner tips that save crafters hours of frustration. Whether you're shopping for your first kit or simply curious about the hype, read on.
- What diamond painting is (and what it isn't)
- A short history of the craft
- What's inside a diamond painting kit
- How diamond painting works, step by step
- Round vs. square drills and the meaning of "5D"
- Finishing, sealing, and framing your artwork
- Frequently asked questions
What Is Diamond Painting, Exactly?
Diamond painting is a DIY craft where you place thousands of tiny, faceted resin stones — called drills or simply "diamonds" — onto a pre-printed, adhesive canvas. Each small symbol on the canvas corresponds to one drill color. Match the symbol to the color on the printed chart, press the stone into place, and repeat. Bit by bit, the scattered symbols resolve into a sparkling mosaic.
Think of it as the modern meeting point of three classic hobbies: the coded chart of paint-by-numbers, the grid-based patience of cross-stitch, and the light-catching surface of mosaic art. The difference is that there are no brushes, paint, needles, or thread — just flat-backed stones that stick the moment you set them down.
You'll hear the same hobby called diamond art, painting with diamonds, diamond embroidery, or 5D diamond painting. These names describe the same process. And despite what the name suggests, no real gemstones are involved. The "diamonds" are small pieces of resin or acrylic, cut with multiple facets so they catch light like jewelry.
The best part? You don't need to be artistic. The entire design is mapped out for you, so anyone who can match a symbol to a color can create a frame-worthy piece — kids, teens, parents, and retirees alike.
A Short History: Where Diamond Painting Came From
Diamond painting is a surprisingly recent invention. The modern craft is generally traced to China around 2010, when a manufacturer filed a patent for applying resin stones to a coded adhesive canvas, building on older velvet-and-bead crafts and traditional sand-painting cards. Early versions used simple raised squares that didn't hold stones reliably; the key breakthrough was adding a sticky surface covered by a peel-back protective film, which kept drills locked in place and the glue clean until you were ready to work.
From there the hobby spread through Russia and Europe before reaching North America in the mid-2010s. Social video platforms turned it into a global phenomenon: watching a blank canvas fill with color one drill at a time turns out to be deeply satisfying footage. Today, millions of kits ship every year, and the market keeps growing as new designs — from pet portraits to licensed artwork — reach shelves.
What's Inside a Diamond Painting Kit?
One reason the hobby is so approachable is that a single box contains everything you need. When you order one of our diamond painting kits, here is what you'll find inside.
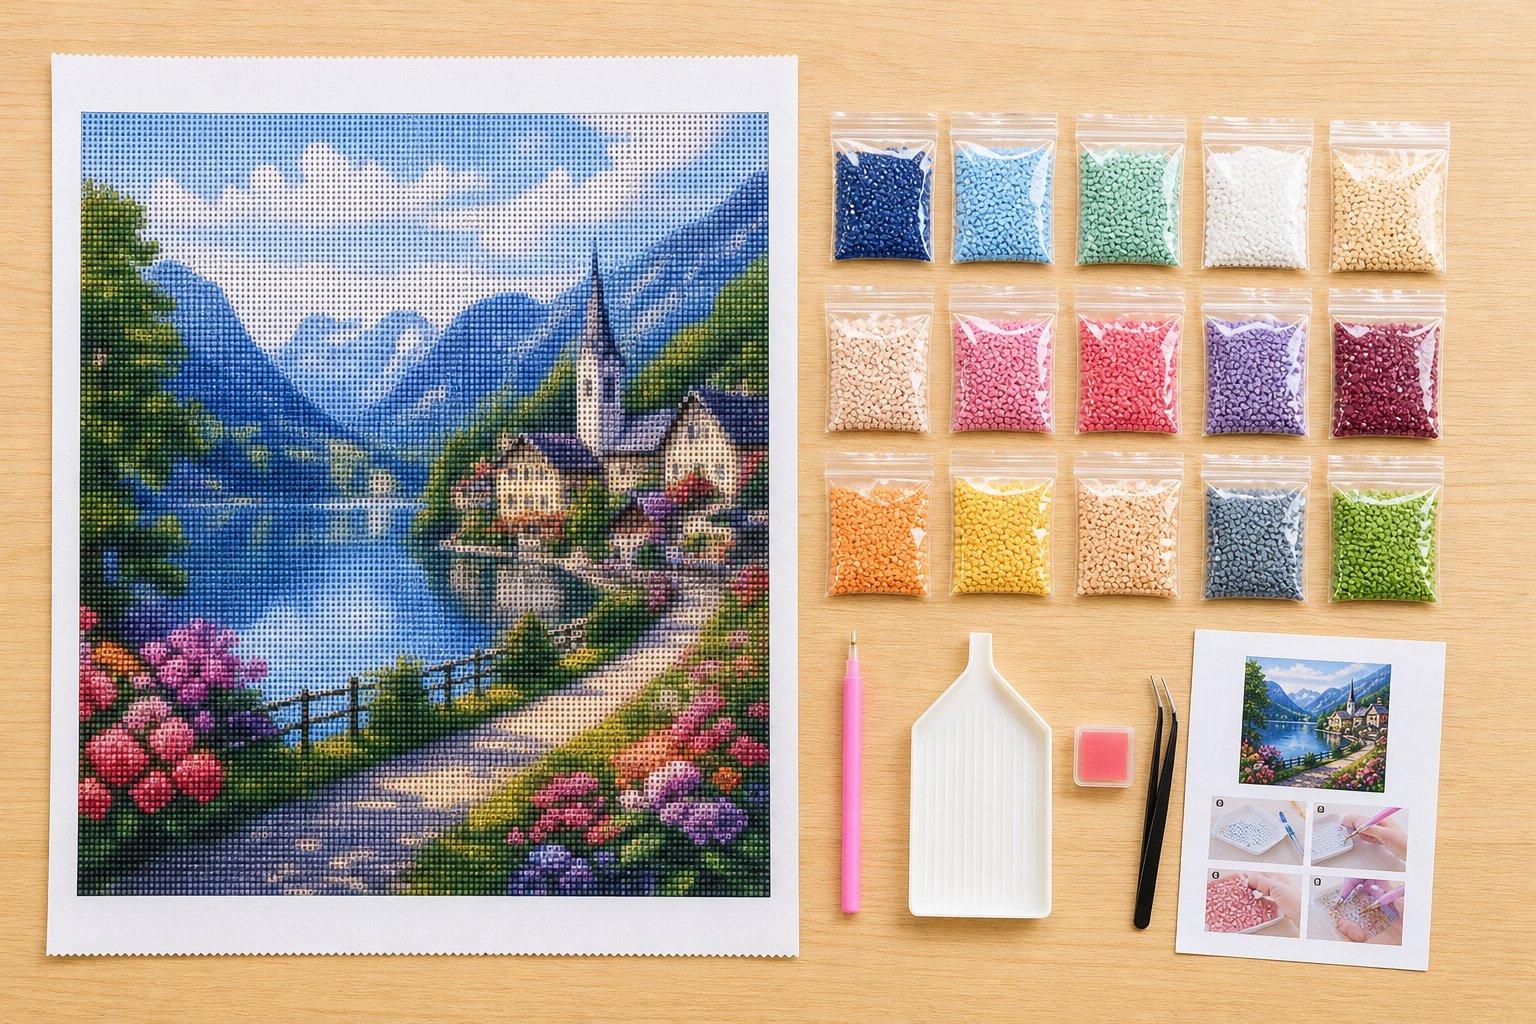
- The adhesive canvas. Printed with the full design, a grid of tiny symbols, and a color chart. A glue layer is covered by a clear plastic film that protects the sticky surface until you peel it back.
- Resin drills. Packed in small labeled bags, each marked with a code (often a DMC number borrowed from embroidery thread standards) that matches a symbol on the canvas.
- An applicator pen. A hollow stylus that picks up one drill at a time. Many pens accept multi-placer tips that grab three, six, or nine stones at once for large color blocks.
- A sorting tray. A ridged plastic dish; give it a gentle shake and the drills settle faceted-side up, ready for the pen.
- Wax or putty. A small square of soft pink wax (sometimes blue tack putty) dabbed into the pen tip so it grips each drill.
- Tweezers. Handy for lifting a misplaced stone or nudging one into alignment.
- Instructions and reference sheet. A printed preview of the finished design plus the symbol-and-color legend.
Better kits share a few quality markers: a smooth poured-glue canvas rather than thin double-sided tape, resin drills with sharp facets instead of cloudy acrylic, and extra stones in every bag so running short is never a concern. Once the bug bites, our diamond painting accessories — light pads, storage cases, and upgraded multi-placer pens — make large projects far more comfortable.
How Does Diamond Painting Work? Step by Step
The mechanics take about five minutes to learn. Here is the full workflow, from unboxing to final stone.
- Set up your workspace. Choose a flat, well-lit table. Unroll the canvas and weigh the corners down with books overnight, or tape it flat, so the edges stop curling.
- Read the chart. Find the legend printed beside the design. Each symbol maps to one bag of drills; the same symbols fill the grid where that color belongs.
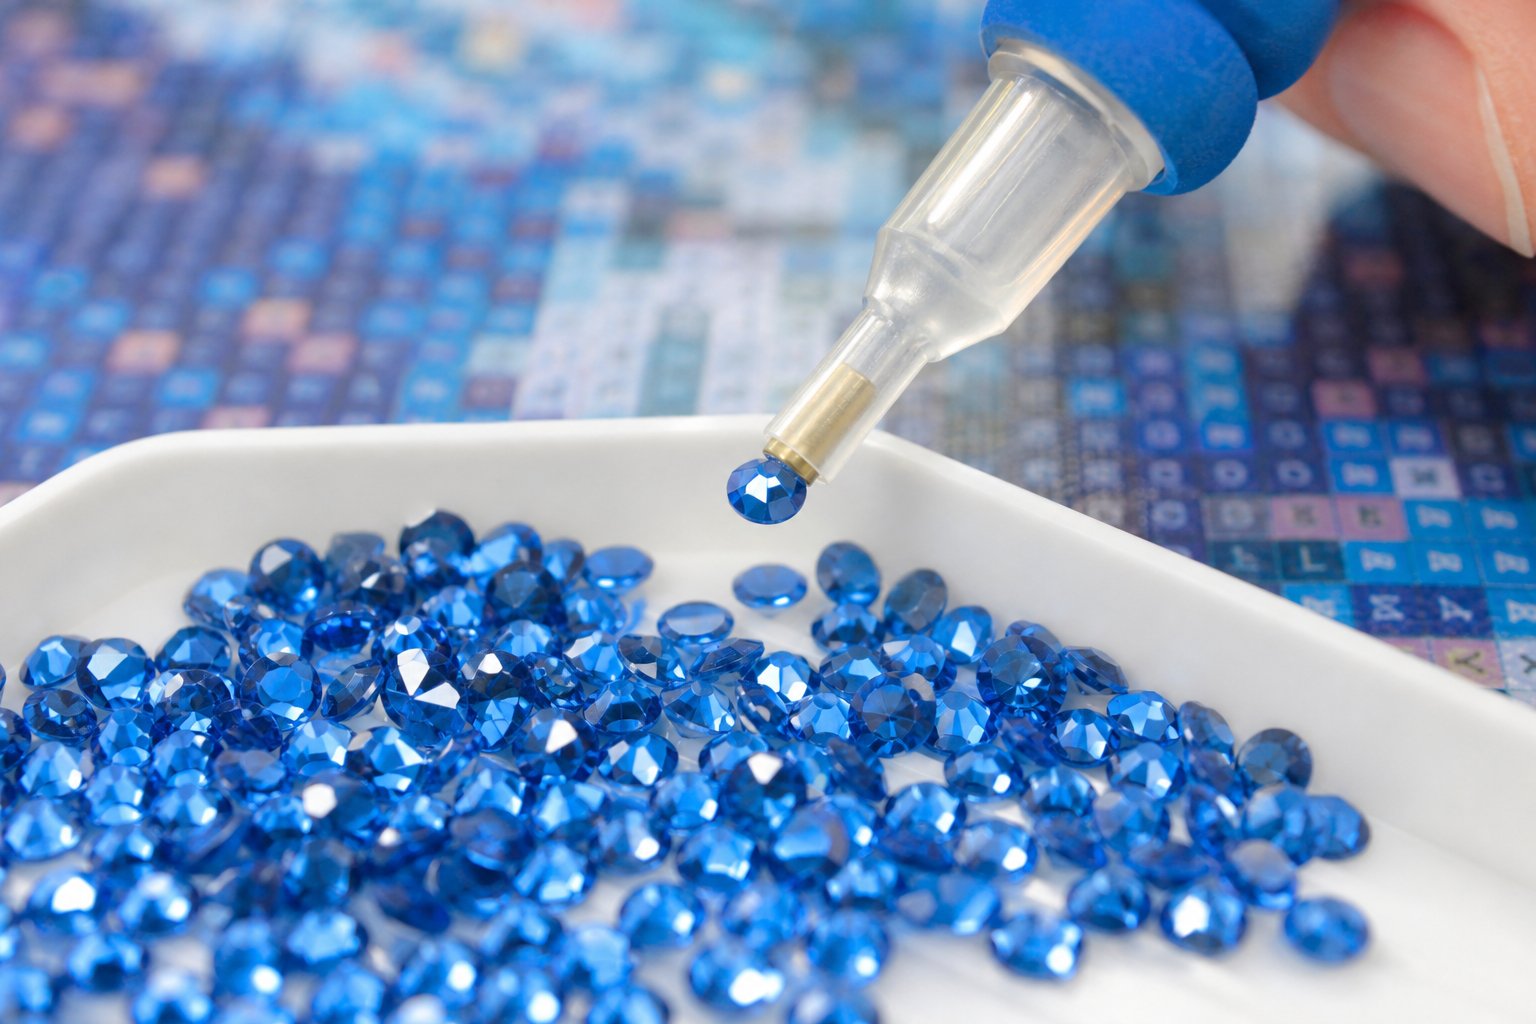
- Load your pen. Peel the cover off the wax and press the hollow pen tip into it once. A little wax inside the tip is all you need — refill it whenever the pen stops gripping.
- Pour and shake. Empty one color of drills into the tray and shake gently so the faceted sides face up.
- Peel a small section only. Fold back just enough protective film to expose the area you'll finish in this sitting. Never remove the whole film at once, because exposed glue collects dust and loses its grip.
- Place each drill. Touch the pen to a stone, lift it, and press it flat onto its matching symbol. Keep going until the section is complete, then peel the next strip of film.
- Secure the finish. When the last stone is down, lay the protective sheet back over the canvas and roll firmly with a brayer or rolling pin so every drill bonds evenly.
Two working styles are common. Color-by-color means finishing every symbol for one shade before moving on — great for keeping the table tidy. Section-by-section means completing one area of the picture at a time, which delivers the motivational rush of watching the image emerge quickly. Try both and keep whichever feels calmer.
Round vs. Square Drills: Which Should You Choose?
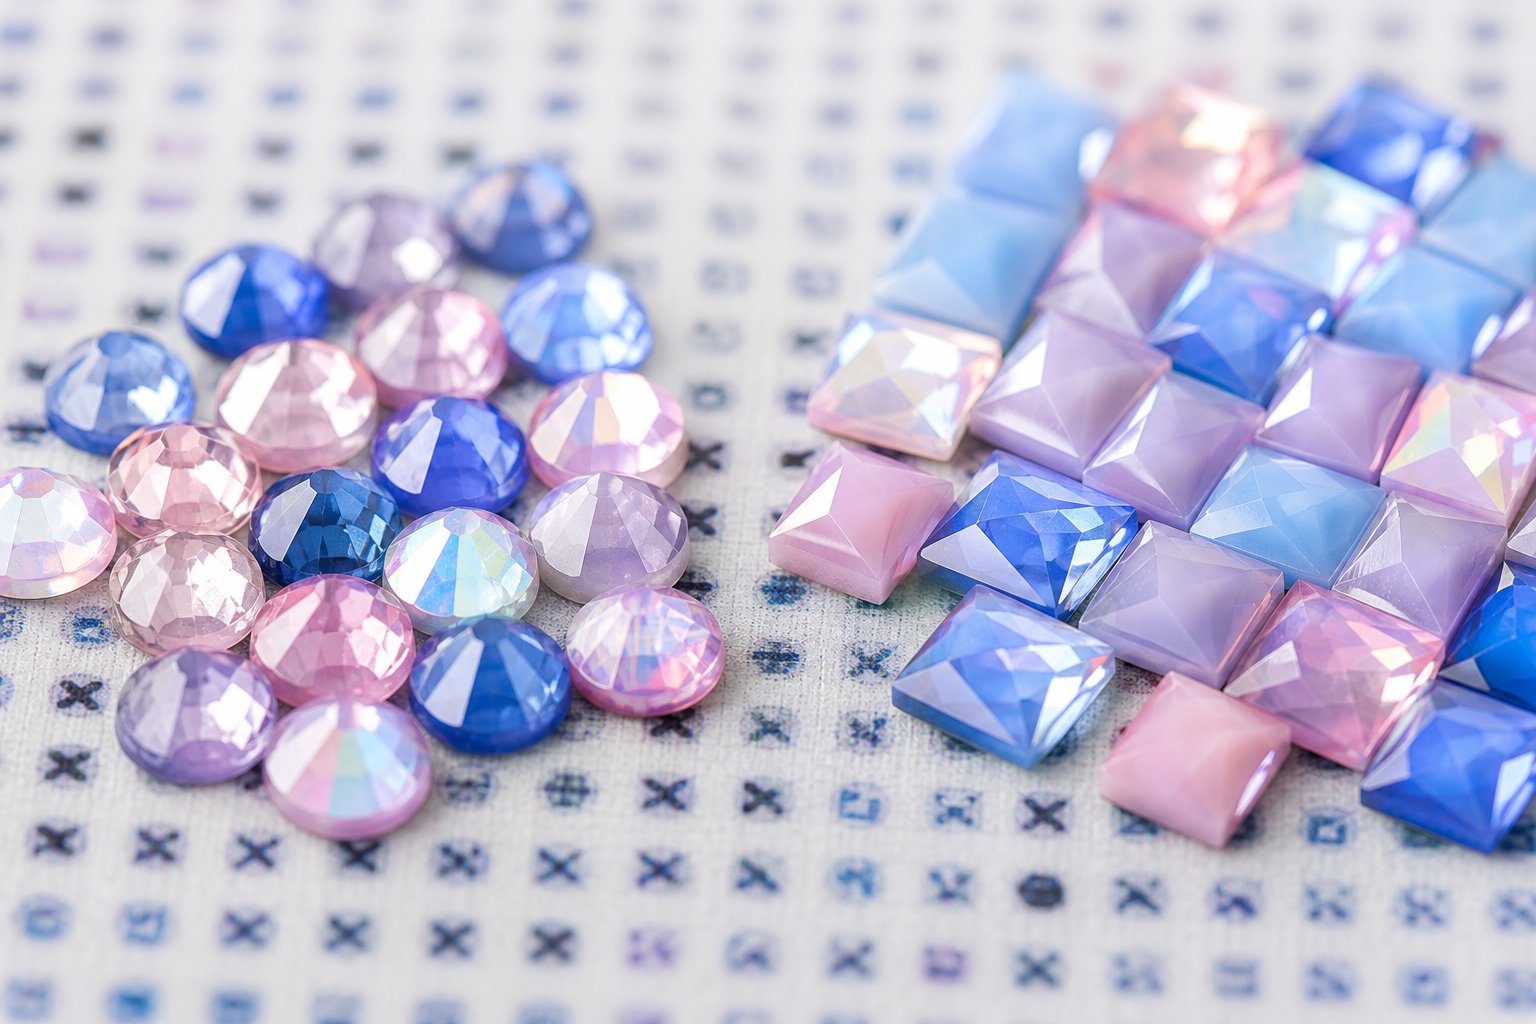
This is the first real decision every new crafter faces. Both shapes produce beautiful results, but they behave differently on the canvas.
| Feature | Round drills | Square drills |
|---|---|---|
| Typical size | 2.8 mm | 2.5 mm |
| Placement | Forgiving — no orientation to align | Precise — edges must line up |
| Coverage | Tiny natural gaps between stones | Edge-to-edge, no canvas showing |
| Finished look | Soft, twinkling, gently textured | Crisp mosaic, stained-glass sharp |
| Speed | Faster, ideal for large canvases | Slower but quietly satisfying |
| Best for | Beginners, portraits, photos, kids | Geometric art, lettering, fine detail |
The simple rule: if this is your first kit, choose round. You'll finish faster, small wobbles disappear into the natural gaps, and finishing your first project matters more than chasing perfection. Once the rhythm feels automatic, square drills reward the extra patience with a gapless, gallery-style surface. We break this down in more detail in our round vs. square diamond painting drills guide.
Full Drill vs. Partial Drill, and What "5D" Actually Means
Full drill and partial drill canvases
A full drill canvas is covered with stones from corner to corner for maximum sparkle and a true mosaic finish. A partial drill kit puts diamonds only on the main subject — a butterfly, a flower, an animal — while the background stays printed. Partial kits cost less and finish quickly, which makes them a popular choice for children, gifts, and weekend projects. Most experienced crafters eventually move to full drill because the all-over shimmer is hard to beat.
The 5D question
"5D" refers to facets, not dimensions. A standard 5D drill has roughly five facets cut into each of its sides — about 15 facets in total — so light bounces in several directions at once. Older 3D drills carry around three facets per side and shine more softly. It's a marketing-friendly label more than a strict standard, since facet counts vary between manufacturers, but a modern 5D kit will always look noticeably brighter than a flat-cut alternative. You may also spot AB drills (short for aurora borealis): stones with an iridescent coating that shifts color in the light, often used as accents in premium designs.
Is Diamond Painting Hard? Who Can Do It?
No — diamond painting is one of the most beginner-friendly crafts available. There's no drawing, color mixing, or sewing, and every placement is decided for you by the chart. The learning curve is roughly one evening: after the first hundred drills, your hands work on autopilot while your mind settles into the rhythm. That quiet, repetitive focus is exactly why many crafters describe the hobby as meditative — a screen-free way to unwind after work that leaves you with something tangible.
How long does a project take? A small 20 × 20 cm partial-drill piece can be finished in a single weekend. A popular 40 × 50 cm full-drill canvas usually takes several evenings, while a 50 × 70 cm design with dozens of colors is a multi-week project — and for many fans, that's the point. It suits adults and older children alike; if arthritis or limited grip strength is a concern, larger round drills, a lightweight pen, and a light pad make the work considerably easier.
Finishing Your Painting: Sealing, Rolling, and Framing
Placing the final drill is only the beginning of the display process. A few finishing steps will keep your artwork intact for years.
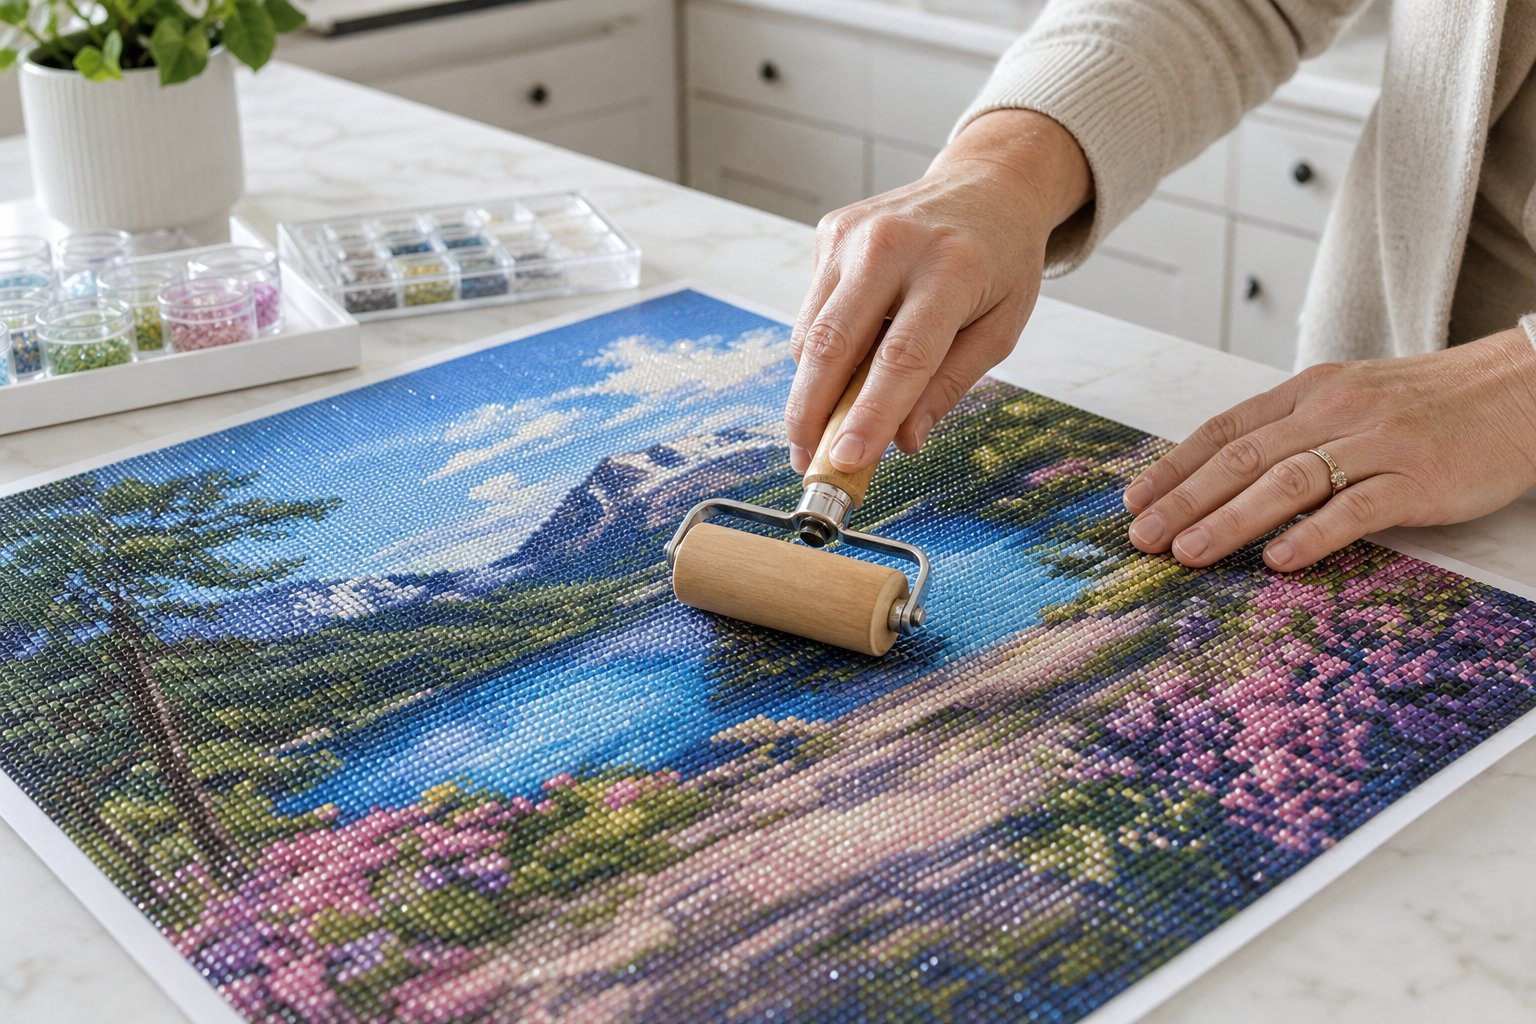
- Roll it. Cover the canvas with its protective film and apply even pressure with a brayer or rolling pin, working from the center outward.
- Decide whether to seal. Sealer is optional on quality poured-glue canvases. If you want extra protection — especially for pieces handled by kids or hung in humid rooms — a thin brush-on coat of clear craft sealer locks everything down. Note that sealers slightly soften the sparkle, so test a corner first. Our full walkthrough explains how to seal a diamond painting the right way.
- Frame and hang. Standard-size canvases fit ready-made poster frames. Choose a frame without glass for maximum shimmer, or use anti-glare acrylic if you prefer protection. A mounted, stretched-canvas finish is another popular option.
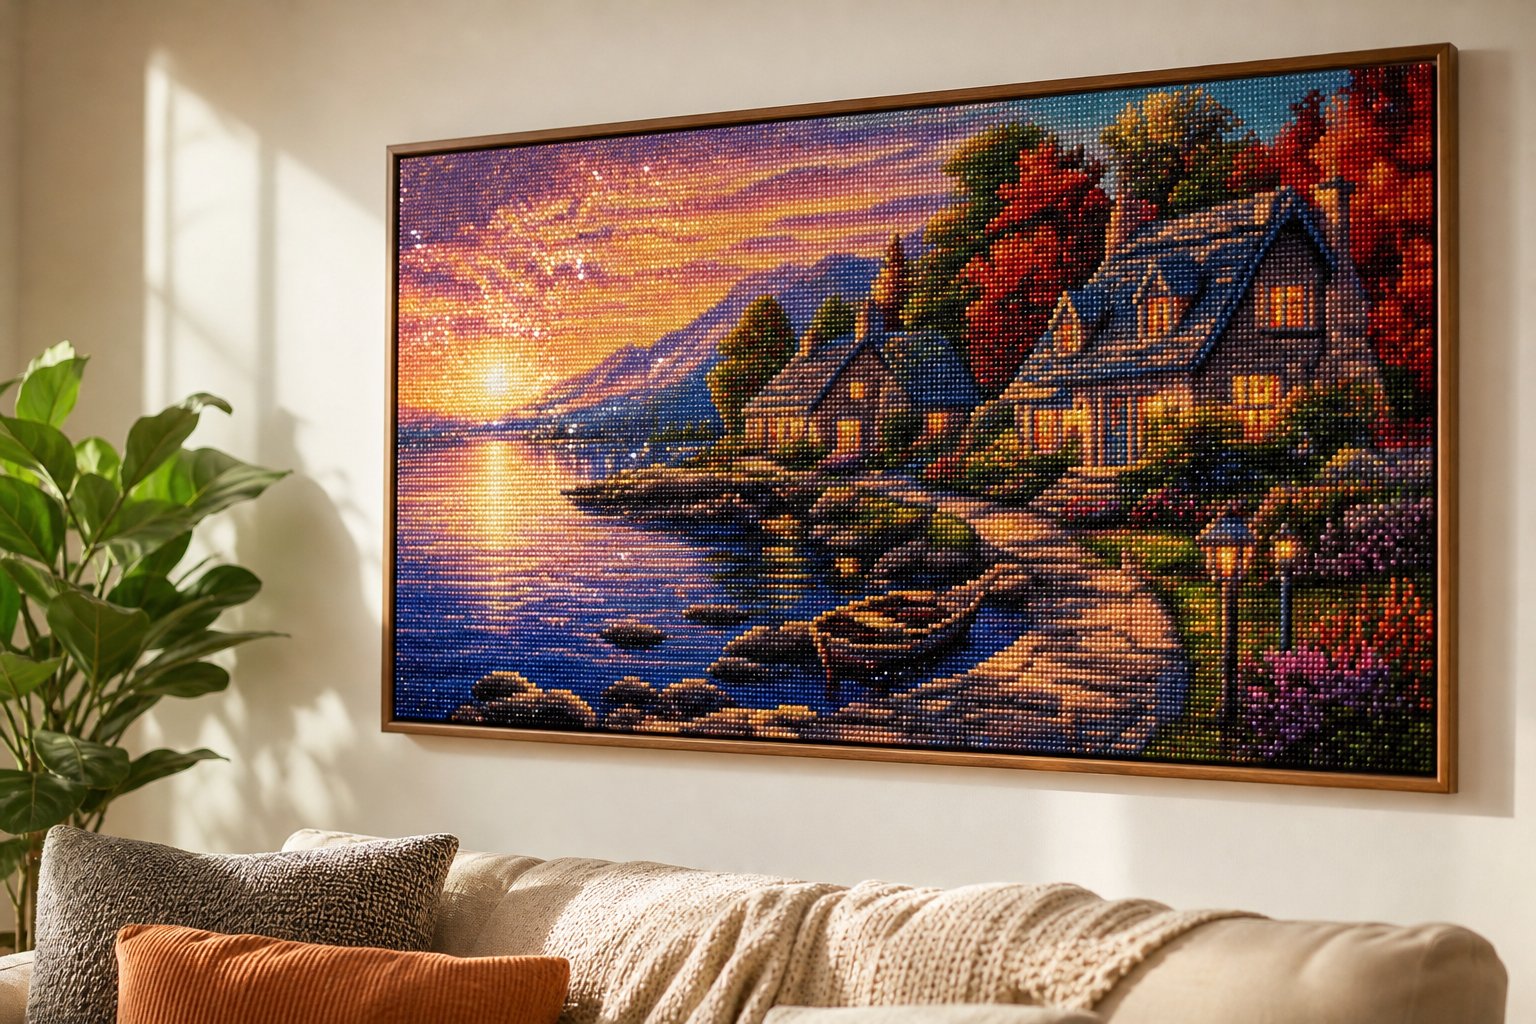
Beyond wall art, crafters turn completed canvases into book covers, cushion panels, greeting cards, and holiday ornaments. A custom portrait of a pet or a family photo also makes a genuinely personal gift; explore our custom diamond painting service to turn your own picture into a kit.
8 Beginner Tips That Make the Hobby Easier
- Start small. A 30 × 30 cm or 40 × 40 cm round-drill kit gives you a finished win before you commit to a wall-size project.
- Keep the film on. Peel back only what you can complete in one sitting, and press it back down when you stop.
- Label everything. Resealable bags or a small storage box with numbered compartments prevent a midnight mix-up of similar blues and grays.
- Learn the checkerboard trick. On tight square-drill areas, place alternating stones first; the gaps make the remaining drills drop in neatly.
- Upgrade to a multi-placer. A three- or six-drill tip cuts the time on big solid-color blocks dramatically.
- Use a light pad. Backlighting the canvas makes faint symbols much easier to read in the evening.
- Fix mistakes fast. Tweezers lift a wrong stone cleanly while the glue is still fresh — don't press drills down hard until you're sure.
- Save leftover drills. Spare stones from pasted kits fill in the occasional lost drill on future projects.
Frequently Asked Questions
Are the diamonds real?
No. Diamond painting drills are made from resin or acrylic with faceted surfaces that mimic the sparkle of real gemstones. They're affordable, lightweight, and safe for crafters of all ages.
What's the difference between diamond painting and paint by numbers?
Both use a coded canvas, but paint by numbers fills each section with brushed paint, while diamond painting places a physical resin stone on every coded cell. There's no drying time, no washed-out brushes, and the finished diamond piece has a textured, three-dimensional shimmer that flat paint can't match.
How long does a diamond painting take?
It depends on size and coverage. A small partial-drill design may take a few hours, a standard 40 × 50 cm full-drill canvas usually takes 15–30 hours spread across several evenings, and large 60 × 80 cm projects can run for a month or more. The process is meant to be enjoyed, not rushed.
Is diamond painting suitable for kids?
Yes, generally for ages eight and up, since the drills are small and pose a choking hazard for younger children. Start kids on a small partial-drill, round-stone kit with a simple design, and supervise the first session.
Do I have to seal my finished canvas?
Not always. High-quality poured-glue adhesive holds drills firmly for years without sealer. Sealing is worth considering for high-traffic homes, humid environments, or pieces that will be handled or framed without glass.
What does DMC mean on the drill bags?
DMC is the historic French embroidery-thread color system. Diamond painting brands borrow its numbering so colors are consistent across kits and manufacturers — if you need replacement drills, the DMC code tells every supplier exactly which shade to send.
Ready to Try Your First Kit?
Diamond painting turns an evening on the couch into a small, sparkling achievement — no talent required, just a chart, a pen, and a little patience. Now that you know how the craft works, the hardest part is choosing a design you love.
Browse the full DP Lounge collection for factory-direct kits with poured-glue canvases, premium resin drills, and fast shipping across the United States — or design your own with a custom diamond painting kit. For more technique deep dives and project ideas, visit the DP Lounge blog.